Getting Started with Docker4Drupal and Next.js for Drupal
For a few years now, quite a lot of effort has gone into making Drupal work in a Headless or Restful state. This has led to the creation of modules such as the subrequests module that allows any set of requests to be aggregated together.
Another such initiative that seems to have gathered momentum is Next.js for Drupal. ChapterThree have put to gether a framework that allows you to set up Next.js and a demo that works out of the box with the Drupal Umami install profile.
I recently had a look at this, and there were a few gotchas when it came to setting this up.
One issue I found is that the setup is skewed to using the Drupal Quickstart guide. This in turn uses php's own built in server or Server Application Programming Interface.
The web server runs only one single-threaded process, so PHP applications will stall if a request is blocked.
Although good for setting up a quick demo, this is not suited for Production or Development purposes, unlike the popular Docker4Drupal Image. Here we have a quick look at setting up Next.js for Drupal along with the well loved Docker4Drupal.
Get the next.js for Drupal Codebase
For the purposes of using next,js with Drupal, lets keep things simple and use the codebase for next.js for Drupal which is available here:
https://github.com/chapter-three/next-drupal
It is worth mentioning that this still runs Drupal 9, so is a little out of date. However it also has most if not all of the packages and patches that we will need to get started.
Within the repo is the Drupal folder that contains all the Drupal code.
I have posted a short article on how to get set up with Drupal 10 and Docker4Drupal here. Essentially you will need to download the tarball, unarchive, remove the docker-compose.overide.yml and then set up some basic config that is specific to your project e.g.
PROJECT_NAME=my_next_js_project
PROJECT_BASE_URL=next.internal
PROJECT_PORT=80

DB_NAME=my_next_js_project
Once that is doen you can go ahead and launch Drupal by running Docker in detached state e.g. docker-compose up -d
Install Umami Demo
Finally, open up your browser, navigate to your chosen url and then following the install steps, and most importantly install the Umami install profile.
Hopefully this goes smoothly and you are now ready to set up the necessary modules and dependencies as outlined here.
Most of these dependencies are enabled already but I found jsonapi_resources is not added to composer.json, although Drupal will download and install it as a dependency if requiring another module that requires it.
composer require 'drupal/jsonapi_resources:^1.0@beta'
Enable required modules
Enable the following modules:
- Next
- Next JSON:API
- JSON:API Menu Items
- JSON:API Views
Once this is done it is time to install Next.js for Drupal
Install Next.js for Drupal
You should have a copy of the code required to run the umami next demo in your examples folder under example-umami. Alternatively you can clone from https://github.com/chapter-three/next-example-umami
I am running nvm locally that allows me to easilly switch versionn of node that is used when running locally. Next.js requires node 14.x to run smoothly although I believe some dependencies may require 16.x. for me I can run nvm list followed by nvm then nvm use lts/gallium to ensure use of 16.x.
The first thing you probably want to do is to make sure that the environmental variables used by next are set correctly. To do this start by copying .env.example to .env.local and update the values to point to your Drupal site. The two main variables to set here are NEXT_PUBLIC_DRUPAL_BASE_URL and NEXT_IMAGE_DOMAIN.
e.g.
NEXT_PUBLIC_DRUPAL_BASE_URL=http://next.internal
NEXT_IMAGE_DOMAIN=next.internal
Start the development server
From your example-umami site run yarn dev
Visit http://localhost:3000 to see the Next.js Umami demo site.
Enable authentication
Next.js for Drupal leverages the NextAuth.js a complete open-source authentication solution for Next.js applications for authentication.
- Designed to work with any OAuth service, it supports OAuth 1.0, 1.0A, 2.0 and OpenID Connect
- Built-in support for many popular sign-in services
- Supports email / passwordless authentication
- Supports stateless authentication with any backend (Active Directory, LDAP, etc)
- Supports both JSON Web Tokens and database sessions
- Designed for Serverless but runs anywhere (AWS Lambda, Docker, Heroku, etc…)
In other words NextAuth.js can be used with the excellent contributed simple_oauth Drupal module for authentication. simle_auth supports Oauth 2.0 and OpenID Connect. In other words we can use Drupal as our Oauth server. To set this up and enable our next.js users to login to their account from our js client, we need to follow the following steps:
- Create a location to store our certs outside the document root. e.g.
/var/www/html/certs. Alternatiuvely we can choose to use the private storage e.g. sites/default/files. For securtity reasons this should NOT be in a publicly accessible place such as/sites/default/files - Visit
/admin/config/people/simple_oauth. - Click on Generate Keys.
- Enter the diredctory we created in step one ithout the trailing slash. e.g
/var/www/html/certsfor Directory for the keys and click Generate. - Visit
/admin/config/services/consumerand edit the default client. - Enter
weDKc7PD845kq49JfPeYmsZ48eunder New Secret and Save. - Update your
.env.localby adding the following:
NEXTAUTH_SECRET=zdauNuBL7lLAHT9zIpxExCThVHSSOfIwouGOhr5cjWQ+ NEXTAUTH_URL=http://localhost:3000
DRUPAL_CLIENT_ID=default_consumer
DRUPAL_CLIENT_SECRET=weDKc7PD845kq49JfPeYmsZ48e- Restart the Next.js development server (ctrl c)
- If you visit
http://localhost:3000/login, you should now be able to login with the Drupal admin username and password.
Enable JSON:API Write Operations
- Visit
/admin/config/services/jsonapi - Under Allowed Operations, select Accept all JSON:API create, read, update, and delete operations.
- Save configuration
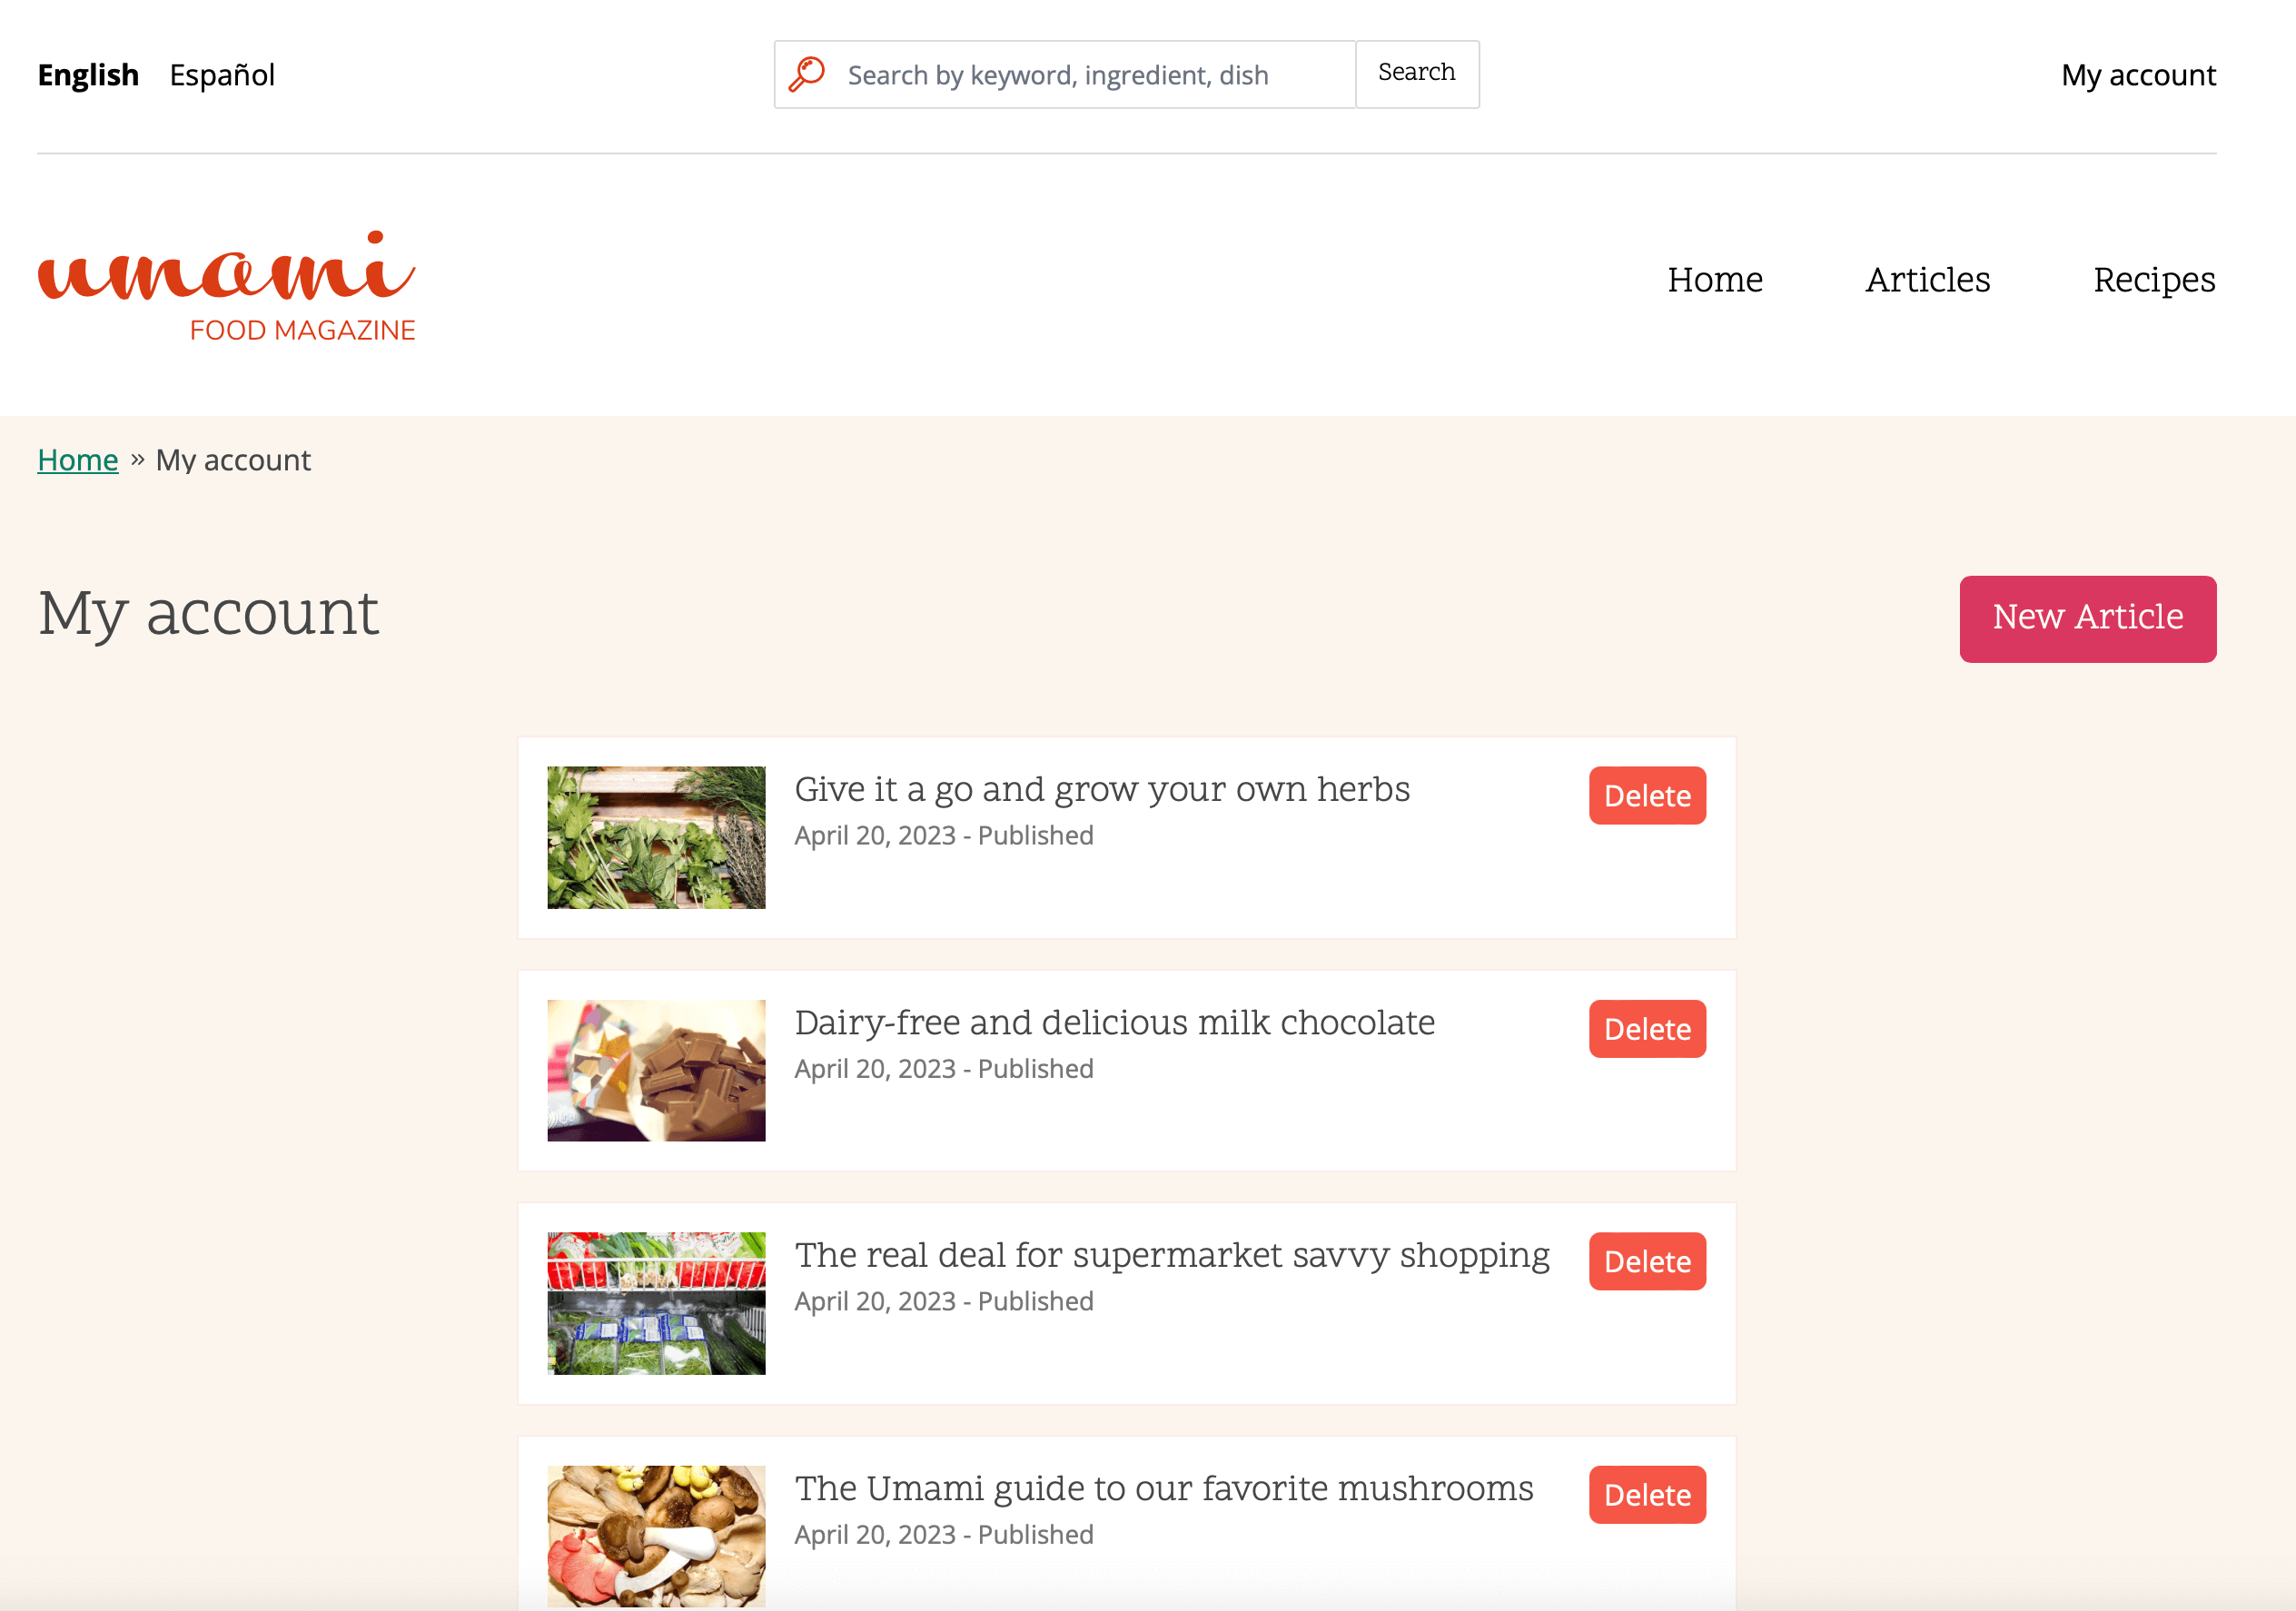
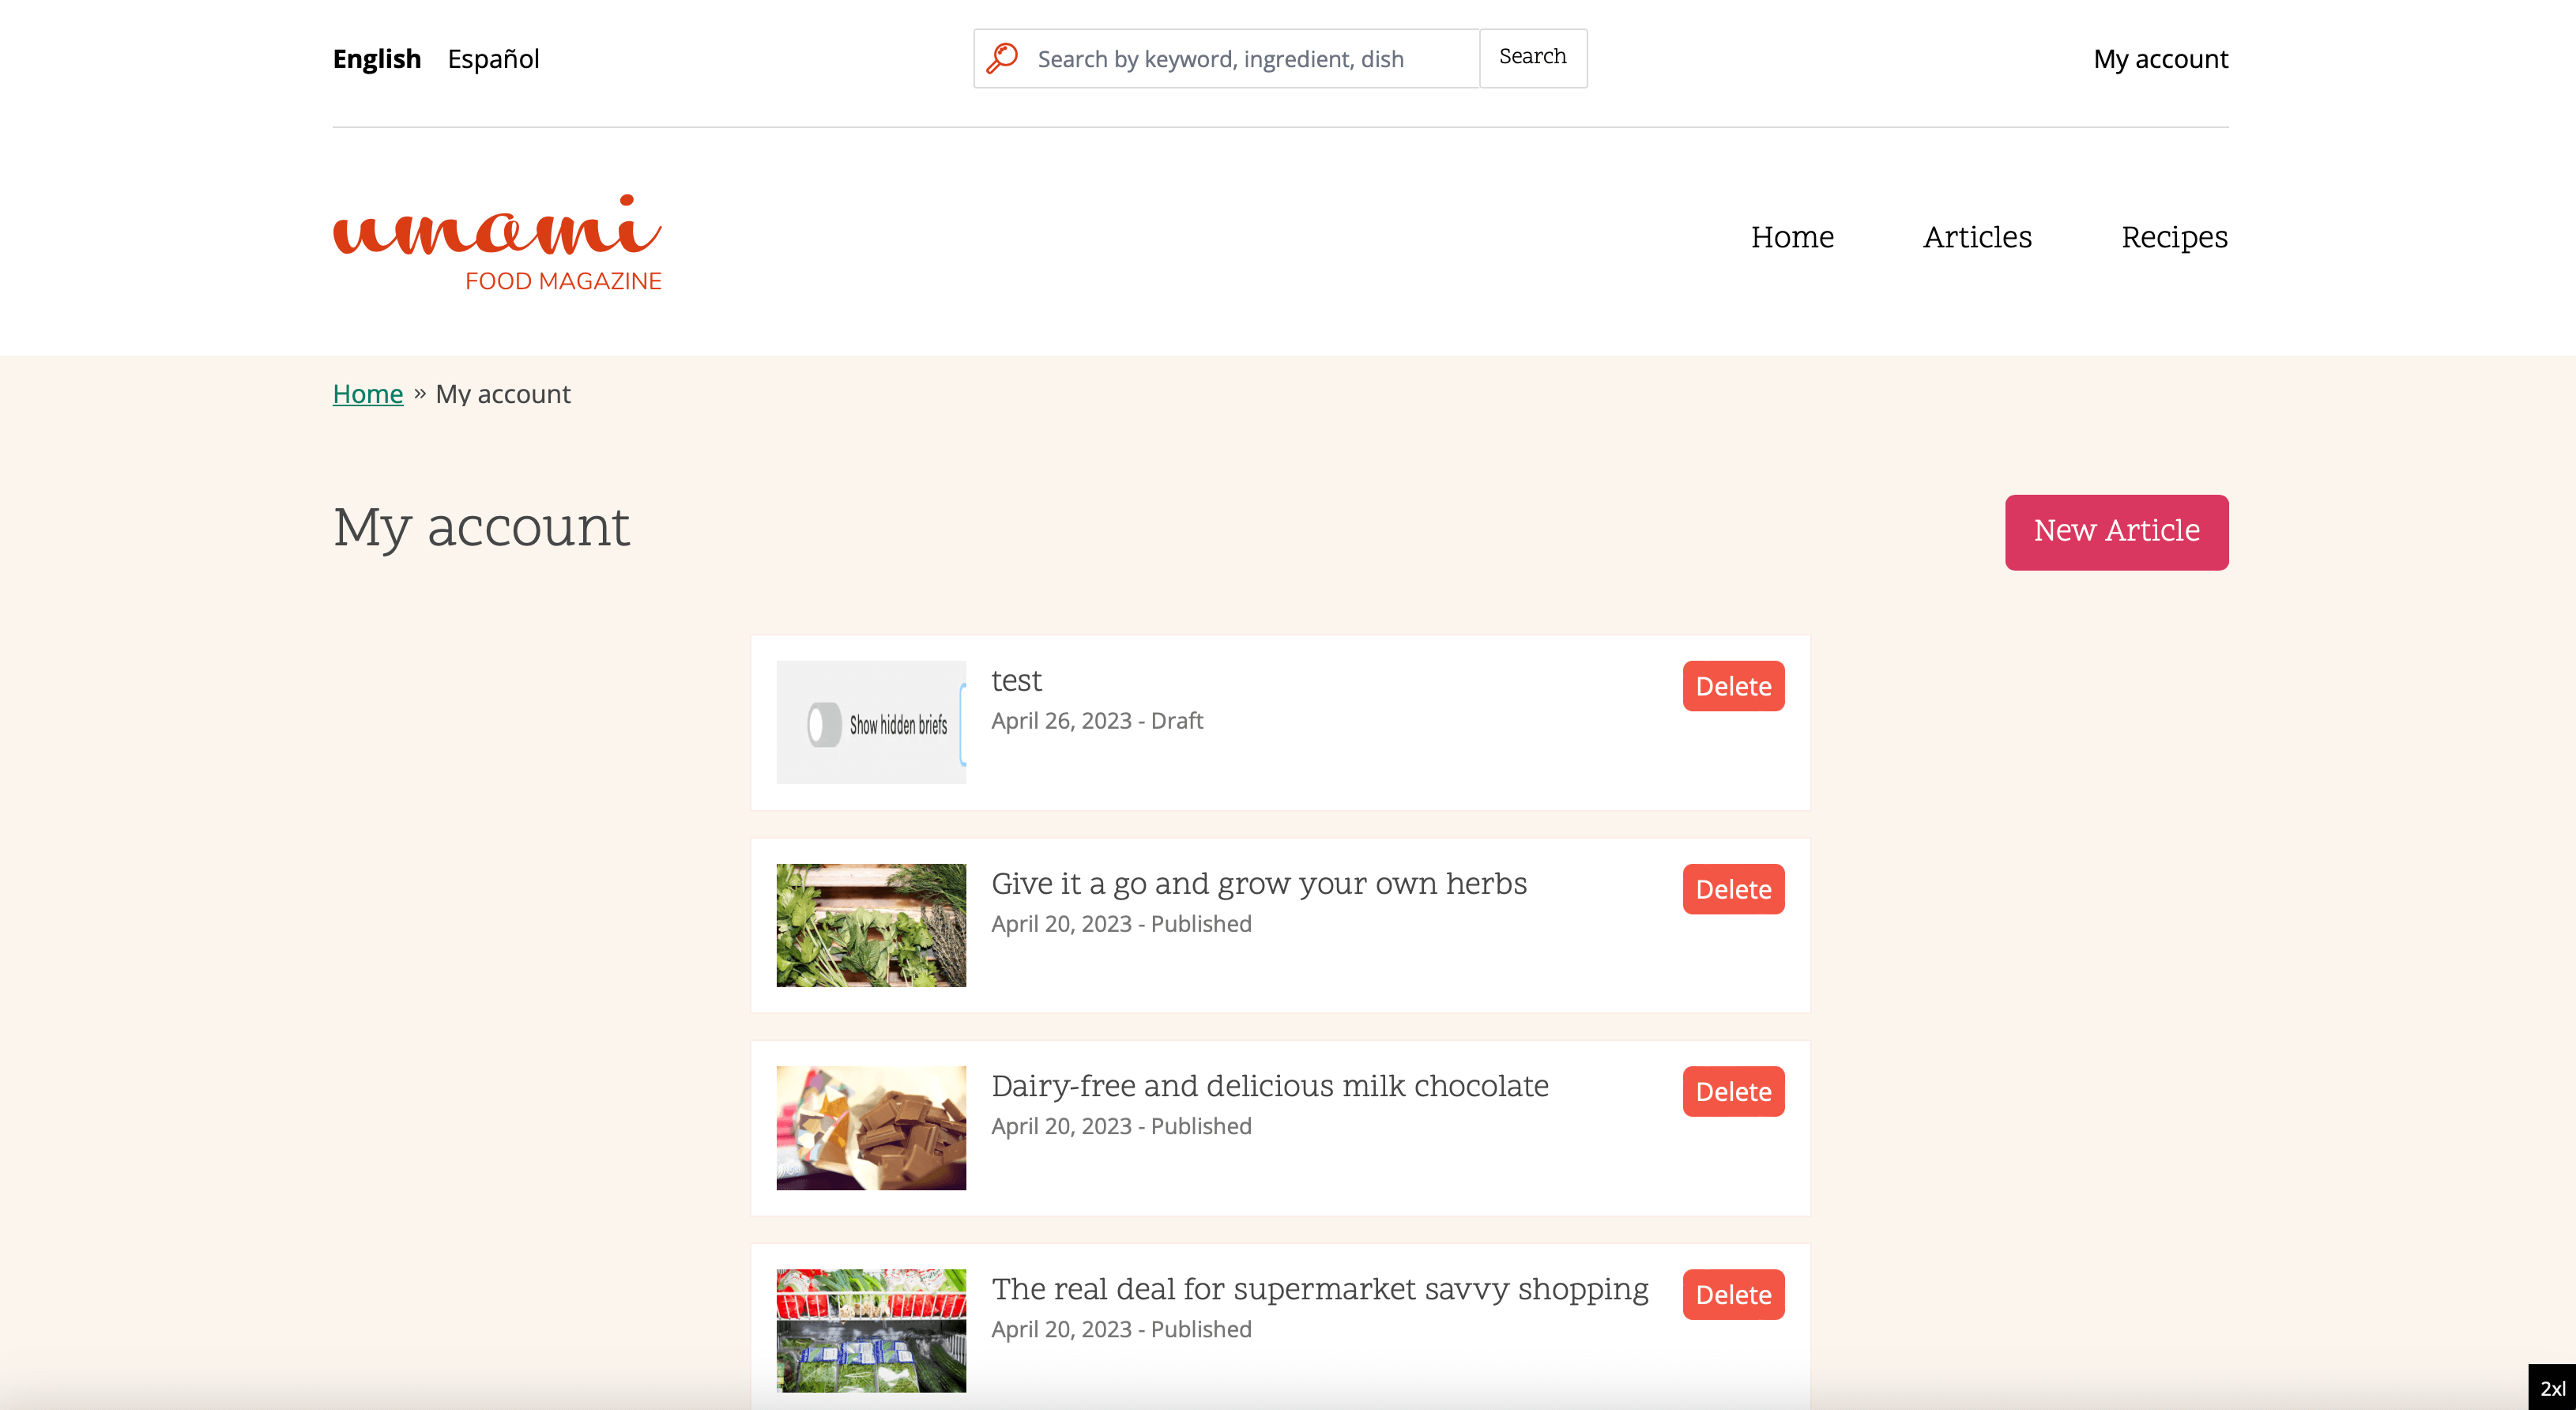
You can now visit http://localhost:3000/articles/new to create a new article.
Issues
As we are on Drupal 10 now, I will look into how difficult it is to update these instructions for Drupal 10. In theory everything should work the same as in Drupal 9.
One issue I have found is that at the time of writing, in order to get the subrequests module to work with next.js basically requires disabling caching on the Drupal side. This issue seems to have been open for a few years now and seems like quite an expensive compromise in performance if you choose to go down this route.
Summary
next.js for Drupal provides a great starting point for those wanting a decoupled system that allows you to get all the benefits of using a SOLID CMS such as Drupal, combined with the benefits of a modern component based javascript framework such as React that is capable of loading your pages asynchronously while also keeping alot of the benefits that you would expect from a Drupal, such as a url schema for webpages and incorporation with the html 5 history api.
Add new comment